FXVPS Plan with Static IP / Snapshot
This page provides instructions on how to create a snapshot to save the current state of your VPS.
Applicable Plans
This feature is available only for FXVPS plans with static IP.
1. Purpose and Overview of This Manual #
A snapshot is a feature that saves the current state of your system and data, allowing you to restore to that point in time whenever needed.
By taking a snapshot, you can restore your system to that specific state at any time in the future.
2. Snapshot Creation Steps #
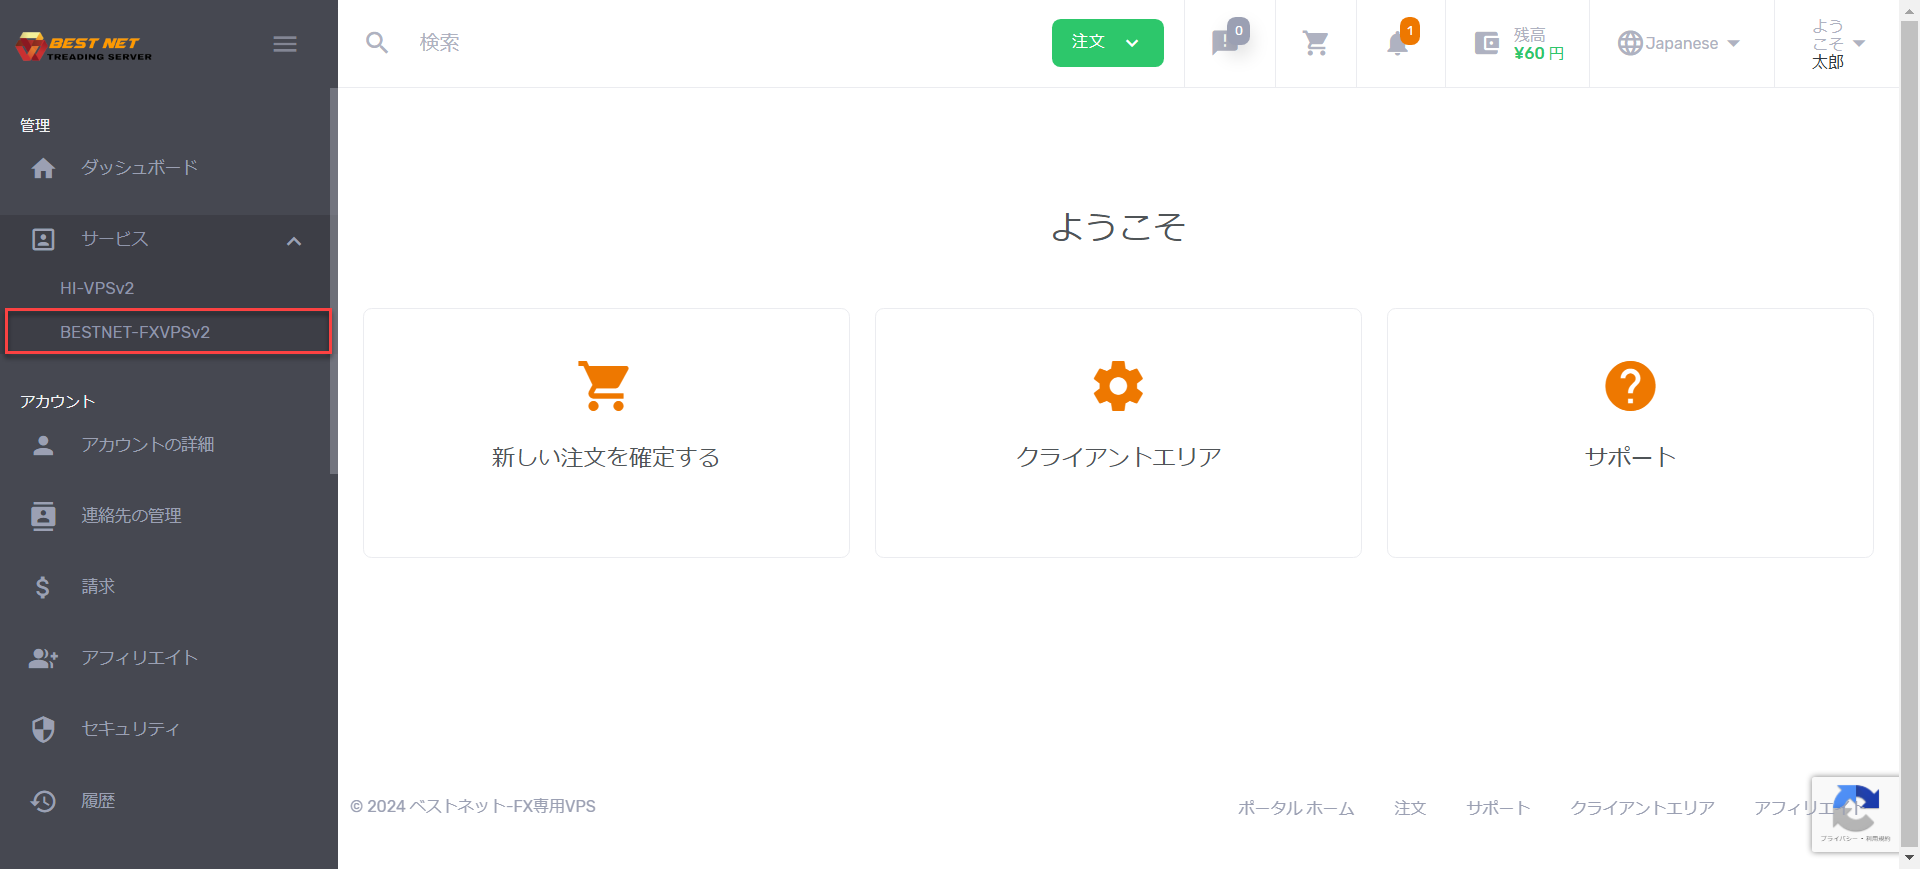
Step 1 Open the target service from the service list #
After logging in to your account, click 「Services」 on the left side
to access the service for which you want to create a snapshot.
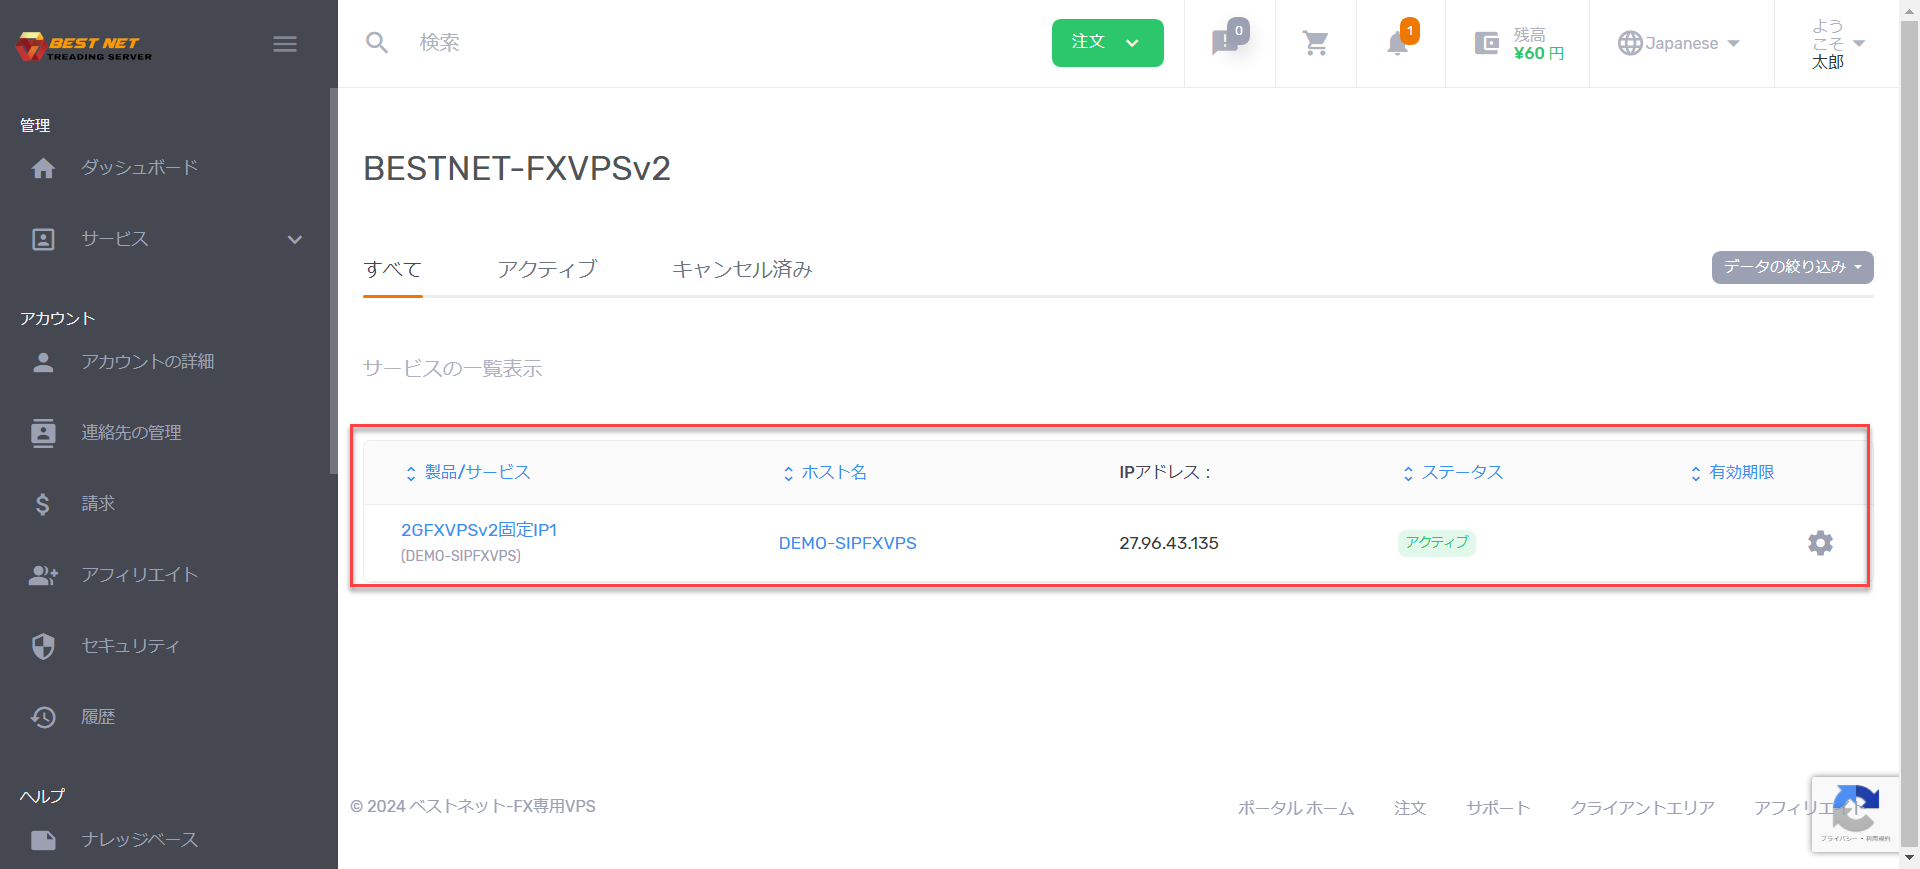
Step 2 Open the target VPS instance #
Once the service is displayed, click on the corresponding VPS instance to open it.
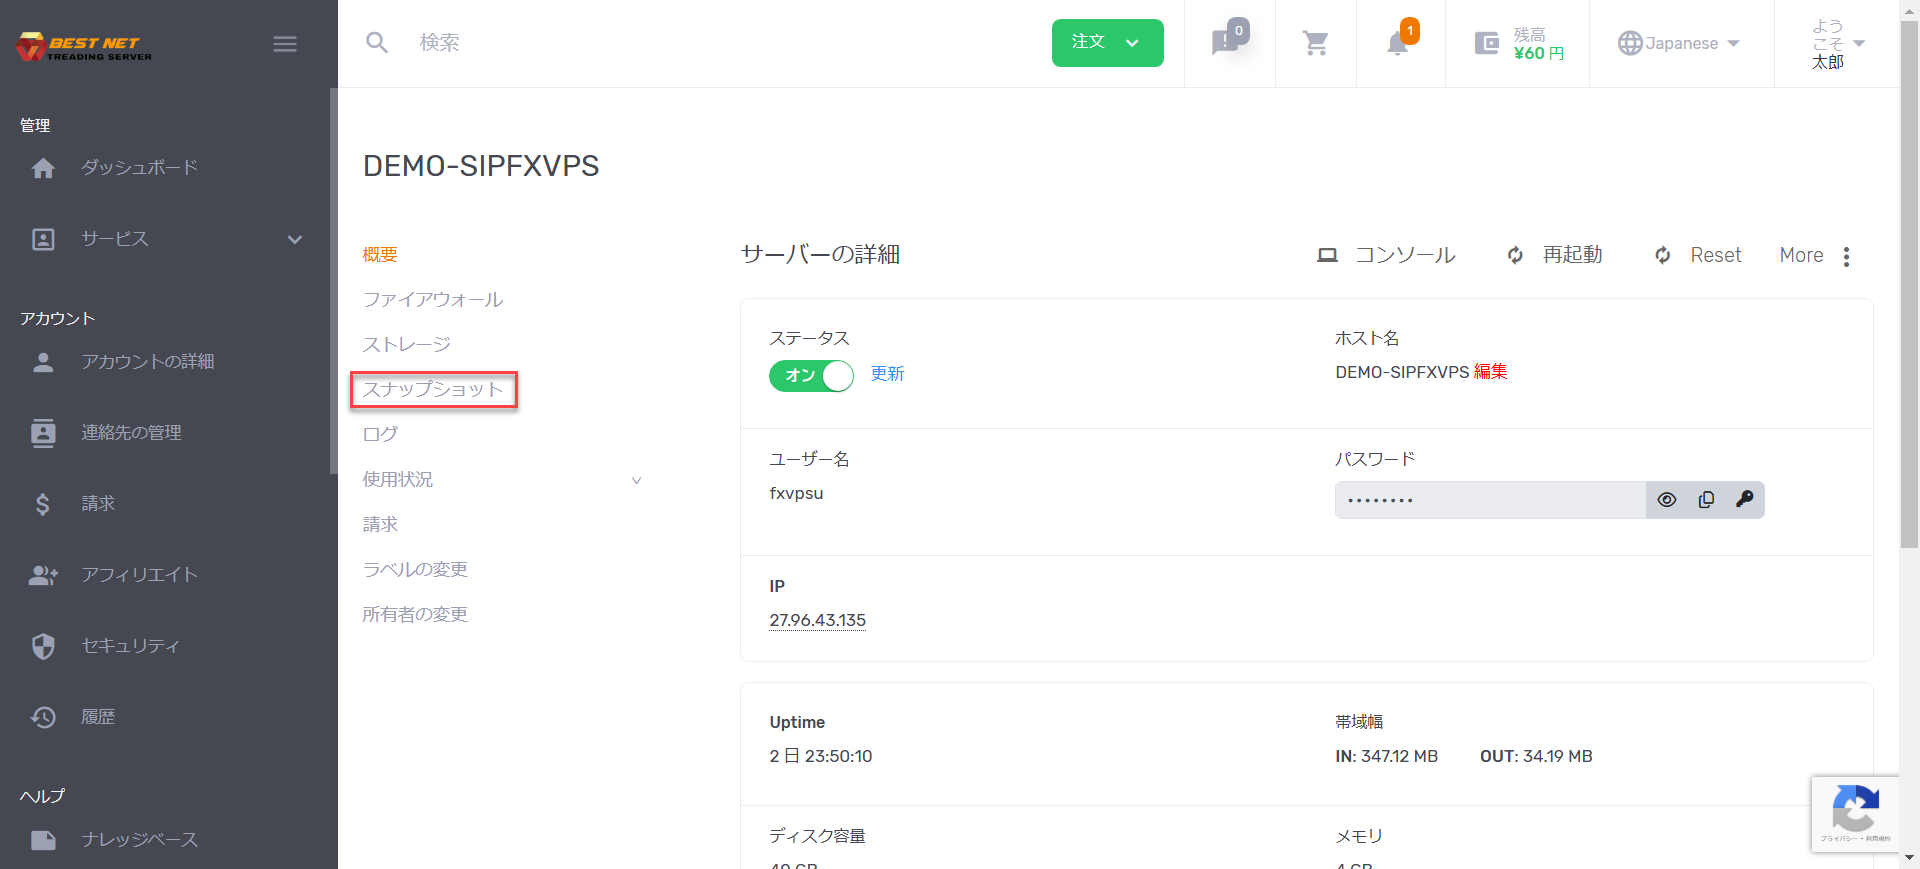
Step 3 Select “Snapshot” from the left menu #
When the server details screen opens, a menu will appear on the left side.
Select 「Snapshot」.
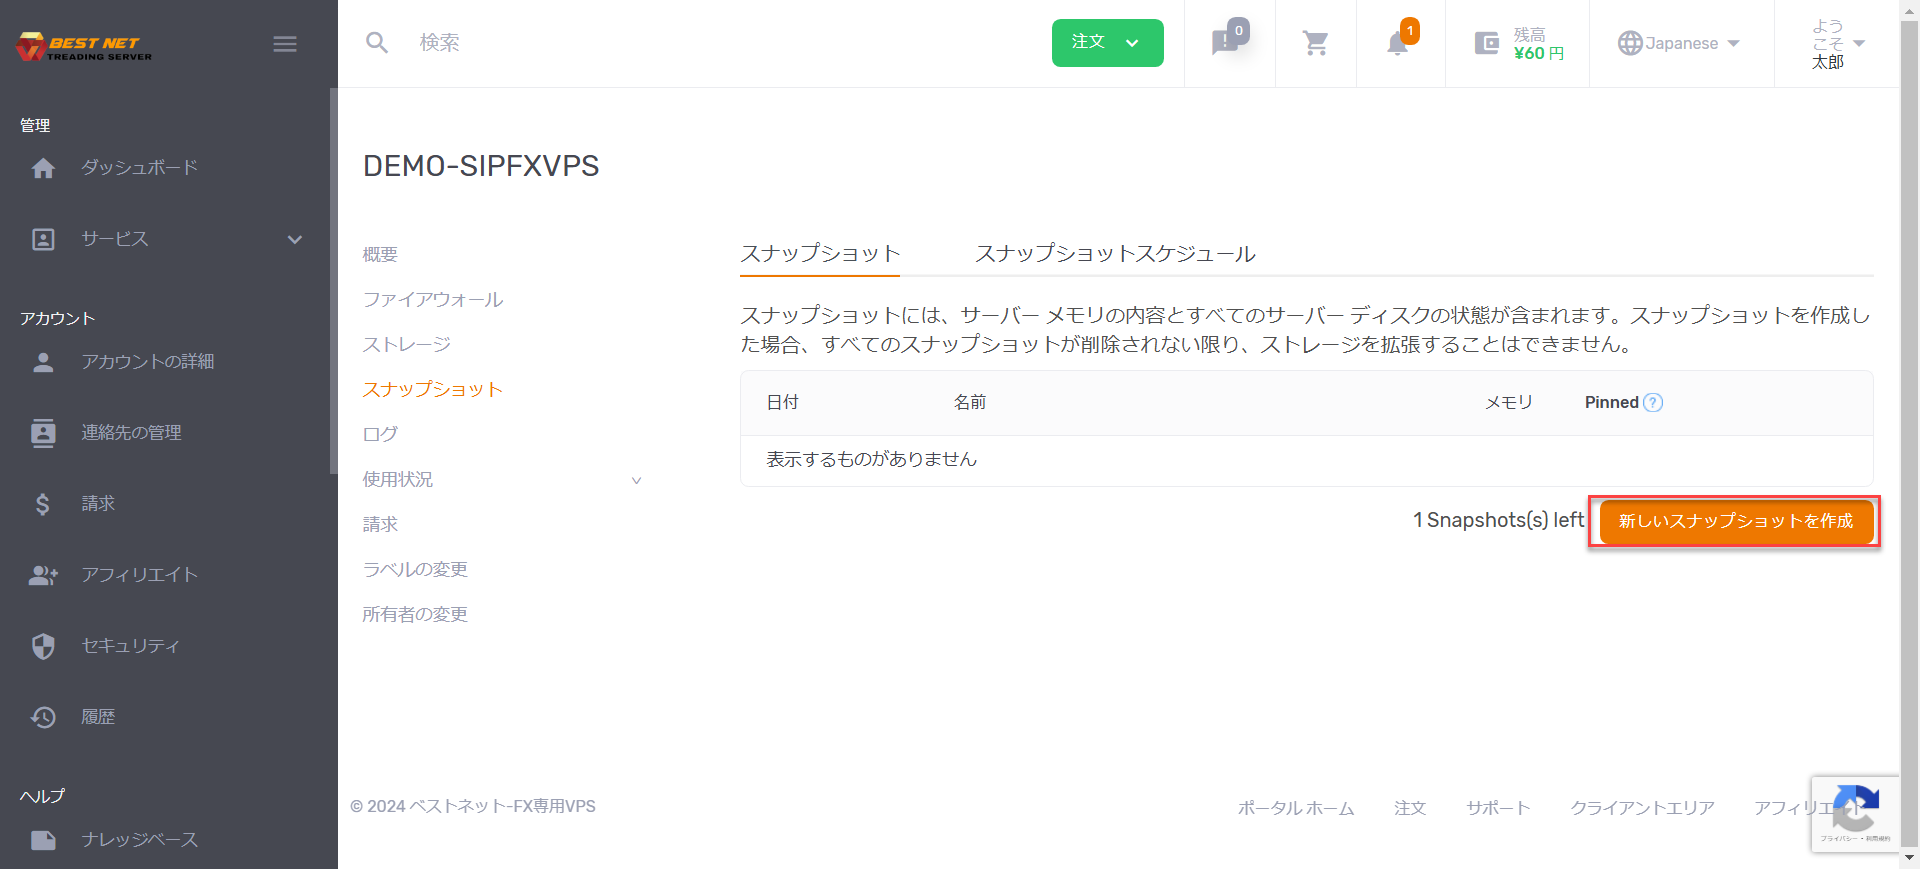
Step 4 Click “Create New Snapshot” #
Once you navigate to the snapshot management screen, click
「Create New Snapshot」 in the bottom right corner.
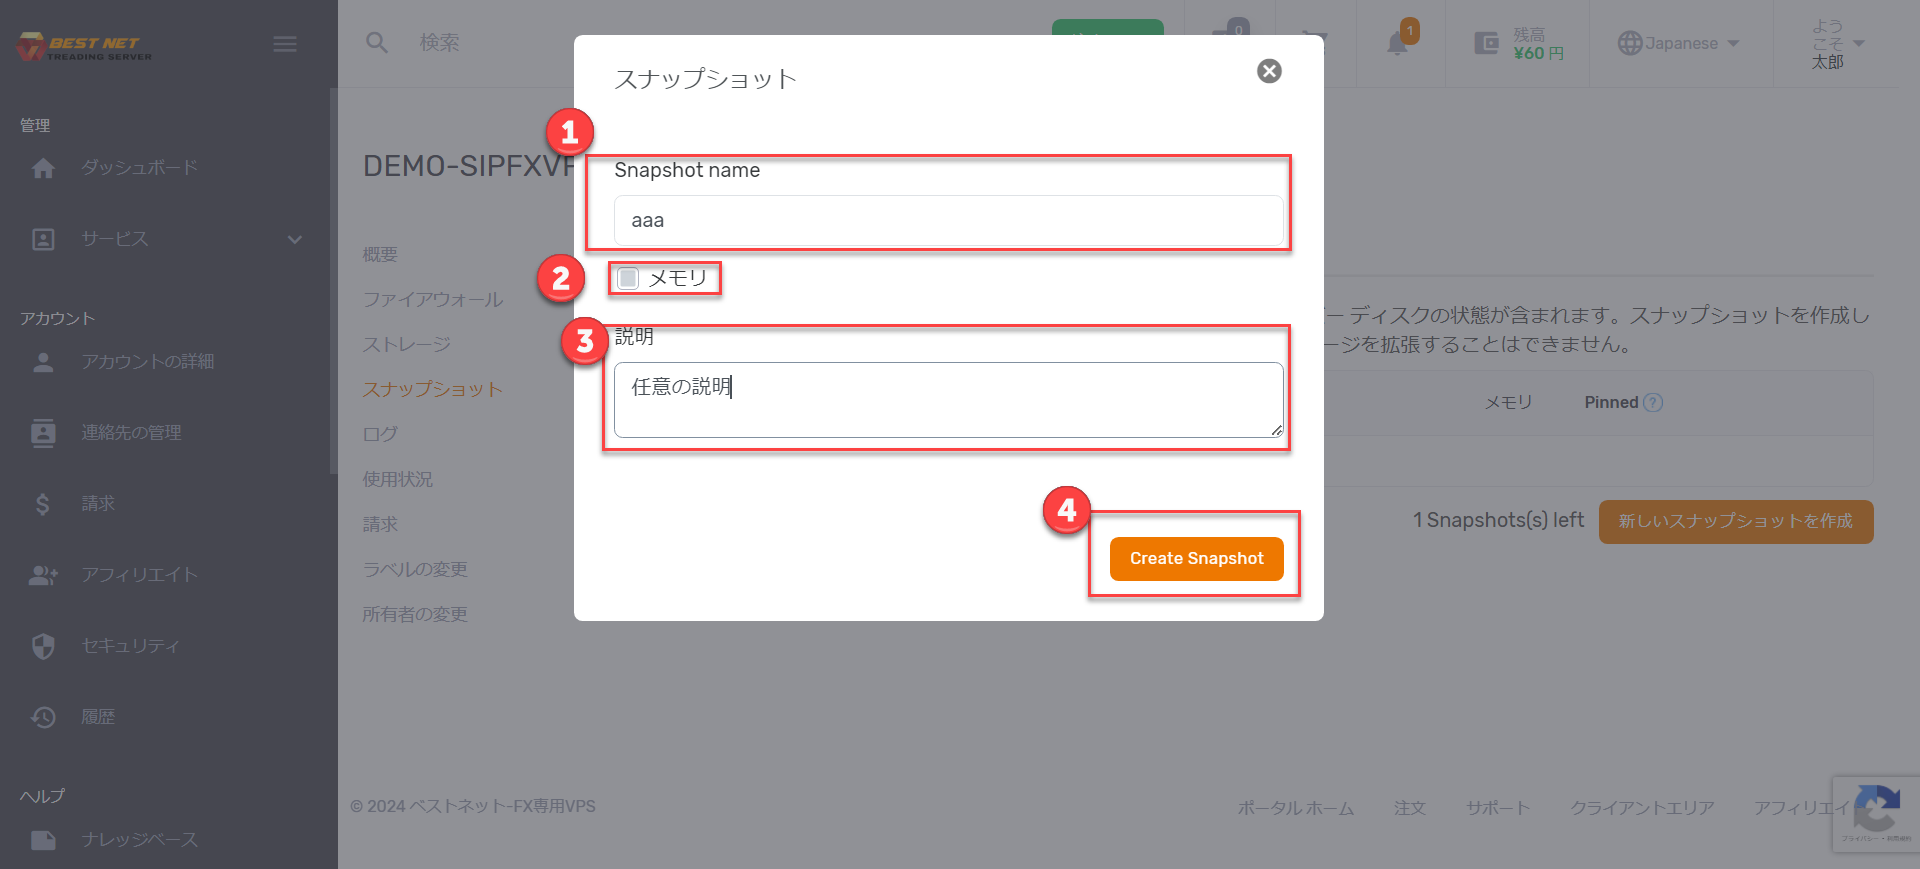
Step 5 Enter required information and create #
When you click 「Create New Snapshot」, a popup will appear.
Memory #
Check this box if you want to include memory contents in the snapshot.
Description #
Enter any description as needed.
Once you have verified the information, click 「Create Snapshot」 in the bottom right corner.
Step 6 Confirm creation is complete #
Once the snapshot has been created as shown below, the configuration is complete.
Note
From the menu shown in the red box, you can restore or delete the snapshot.


