Operation Guide
You can upgrade or downgrade your plan while keeping your VPS data intact.
Plan changes can be made from the control panel. However, the server will restart when the changes are reflected on the server.
If you are using running applications or automated trading tools, please make the changes at a time with minimal impact.
Important Notice
The server will restart when the changes are reflected. Please save or stop operations as needed beforehand.
Common Steps #
1
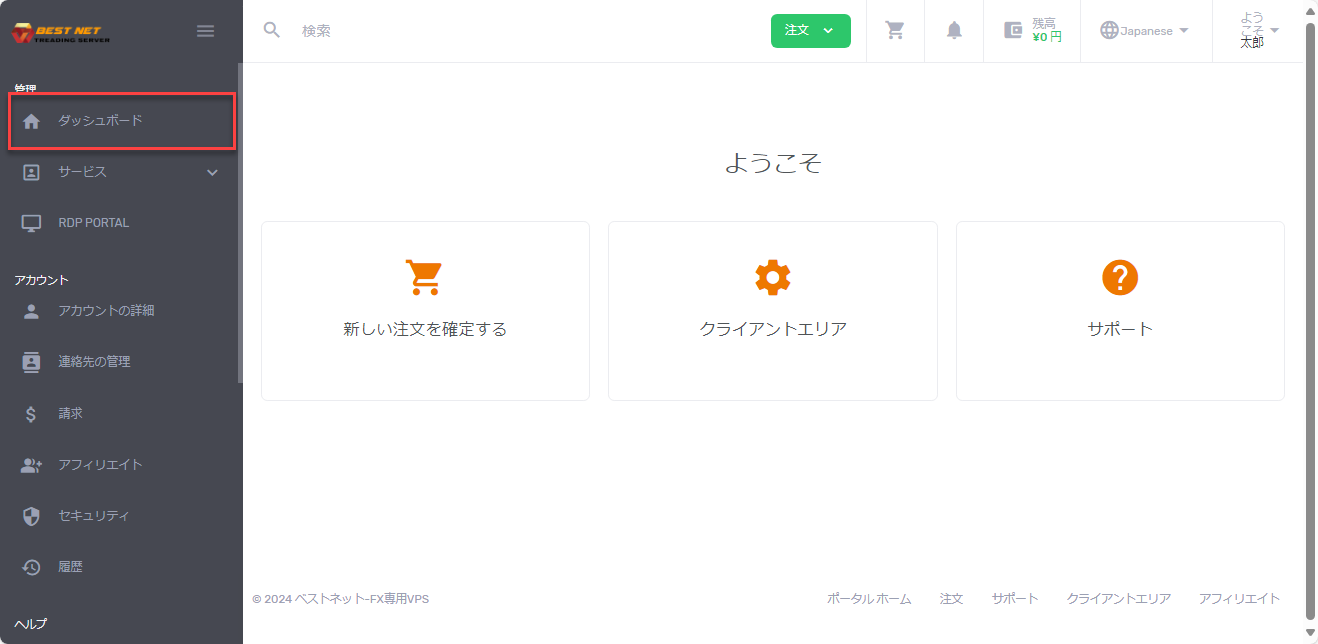
Log in to the client portal and open “Dashboard”
After logging in, open “Dashboard” from the left menu.
2
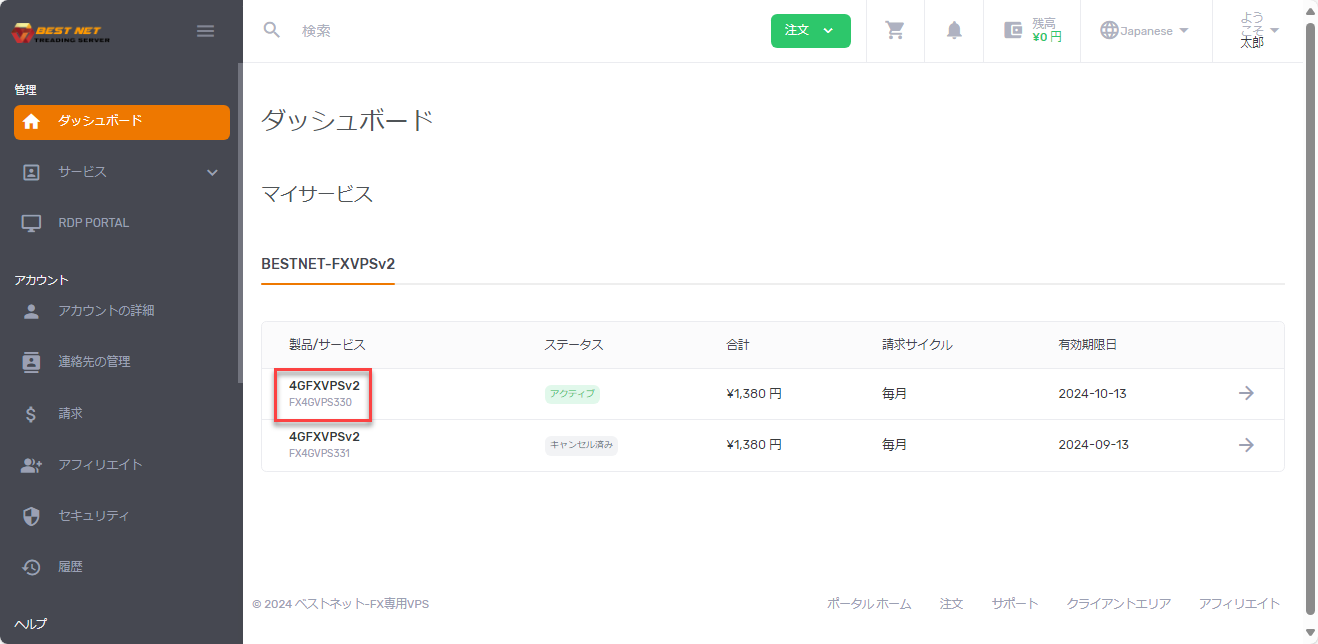
Open the target product from “My Services”
From “My Services” in the dashboard, open the product you want to change plans for.
3
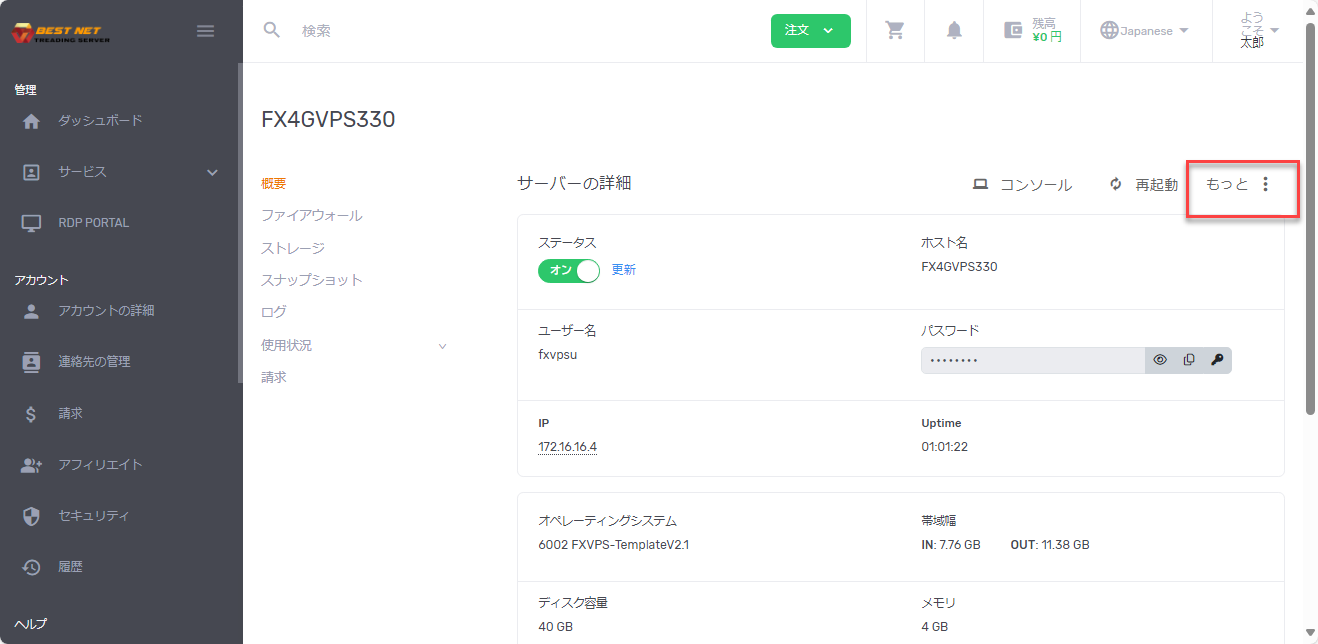
Click the “More” (three-dot menu) on the right side
Click the three-dot menu labeled “More” on the right side of the target product.
4
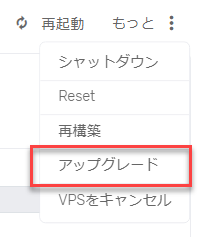
Select “Upgrade” from the displayed menu
When you open the menu, various operations will be displayed. Select “Upgrade” from them.
Both upgrades and downgrades proceed from this menu.
Downgrade Steps #
Note
After downgrading, the difference will be charged back to your account balance.
1
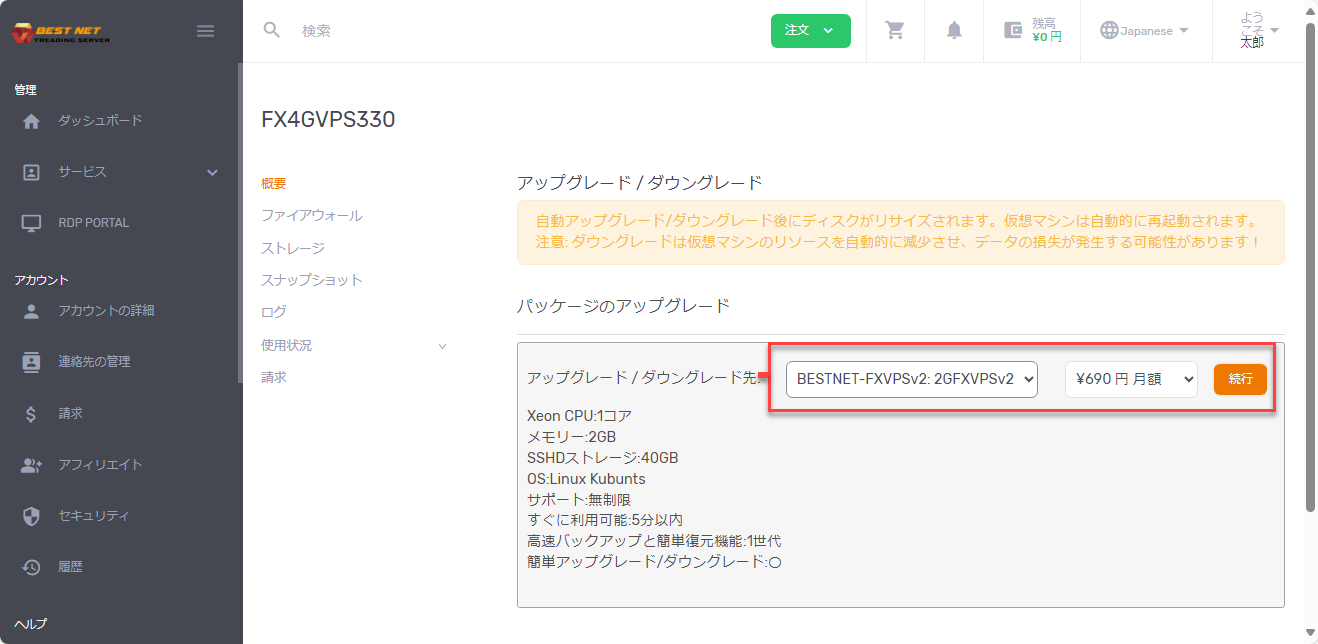
Select a lower plan and press “Continue”
When you select “Upgrade” in the common steps, the plan change screen will appear.
Select a lower plan than your current contract and press the orange “Continue” button.
2
Confirm the difference and press “Submit”
The refund difference after downgrading will be displayed. If there are no issues with the details, press the orange “Submit” button.

3
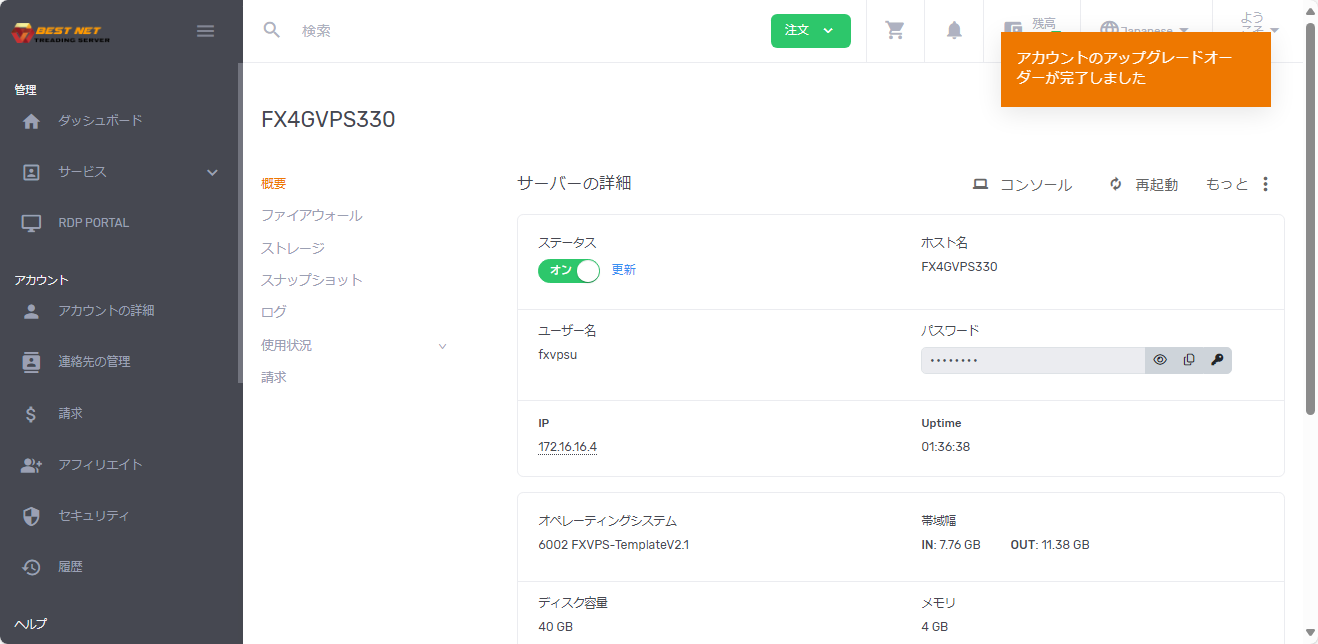
Procedure is complete when the completion popup appears
When the completion popup appears in the top right corner of the screen, the downgrade procedure is complete.
※ The popup may display “Upgrade,” but please rest assured that the actual process is a downgrade.
Upgrade Steps #
Note
An additional daily charge applies for upgrades. The server will reflect the changes after payment is completed.
1
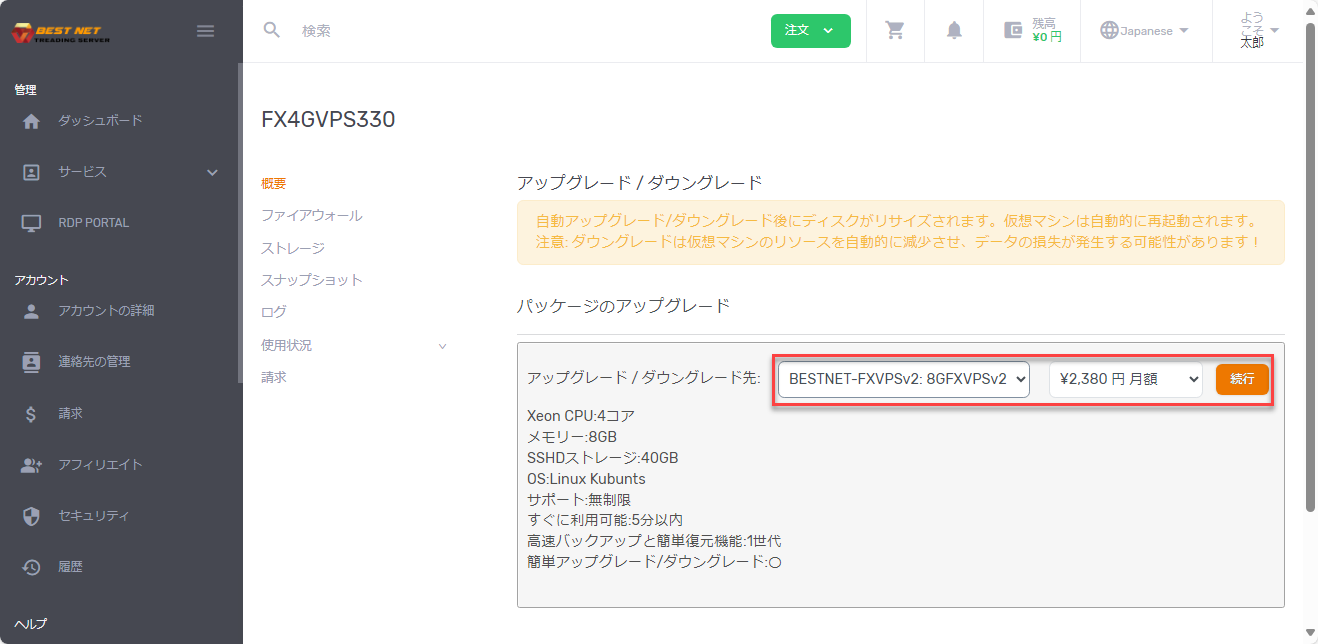
Select a higher plan and press “Continue”
When you select “Upgrade” in the common steps, the plan change screen will appear.
Select a higher plan than your current contract and press the orange “Continue” button.
2
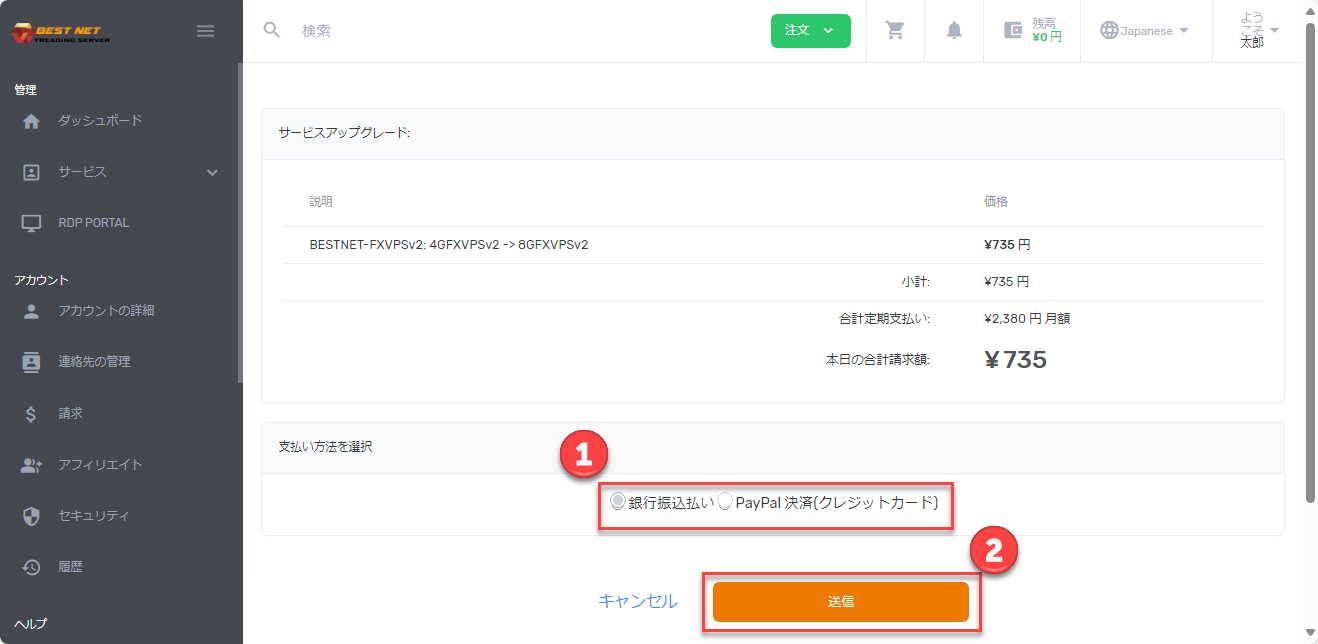
Confirm the additional charge, select a payment method, and press “Submit”
The additional charge for the upgrade will be displayed. Select a payment method, and if there are no issues with the details, press the orange “Submit” button.
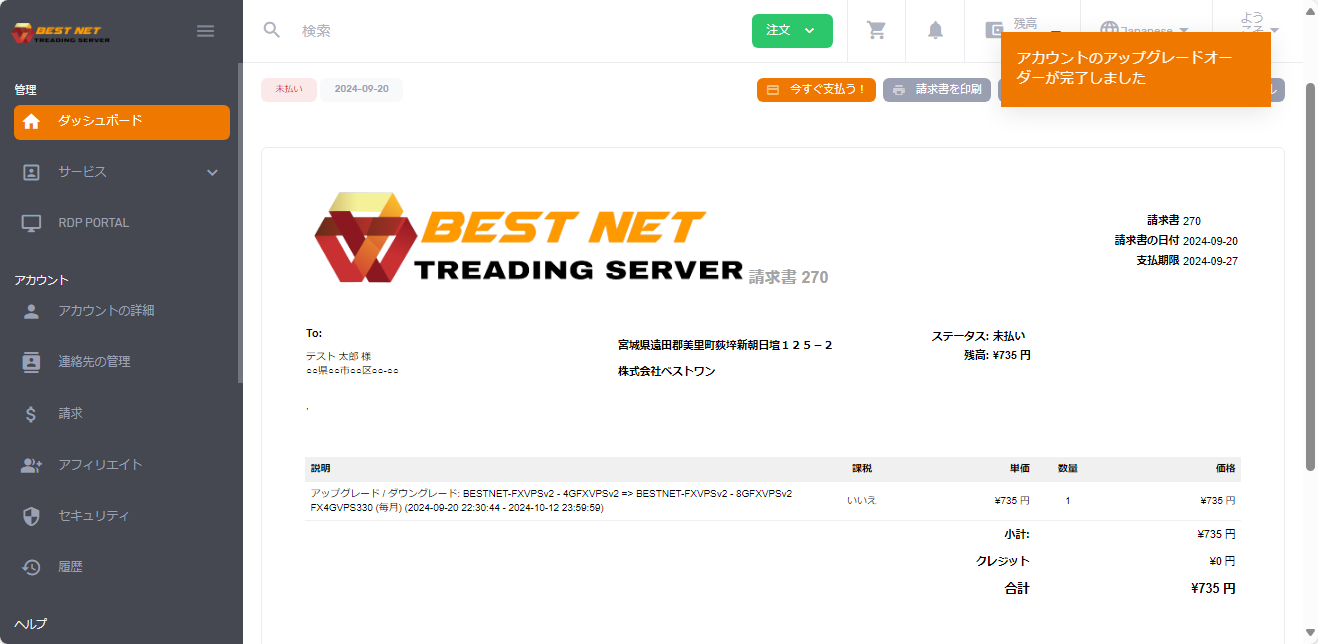
3
Procedure is complete when the billing screen appears
When the completion popup appears in the top right corner of the screen and the billing screen is displayed, the upgrade procedure is complete.
After that, when you make the payment using the specified payment method, the upgrade details will be reflected on the server. The server will restart when the reflection occurs.