Overview #
This guide explains how to create a new support ticket (open) from the client portal.
This guide is created using generative AI and other tools, so annotations (arrows, frames, numbers, etc.) in screenshots may appear slightly misaligned with the actual screen.
The guide is intended to help you understand the procedure. When performing operations, please prioritize the screen display and text content.
Prerequisites #
- You can log in to the client portal
- You have prepared your inquiry content (subject/message)
- If necessary, you have prepared attachments (screenshots, logs, etc.)
Operation Steps #
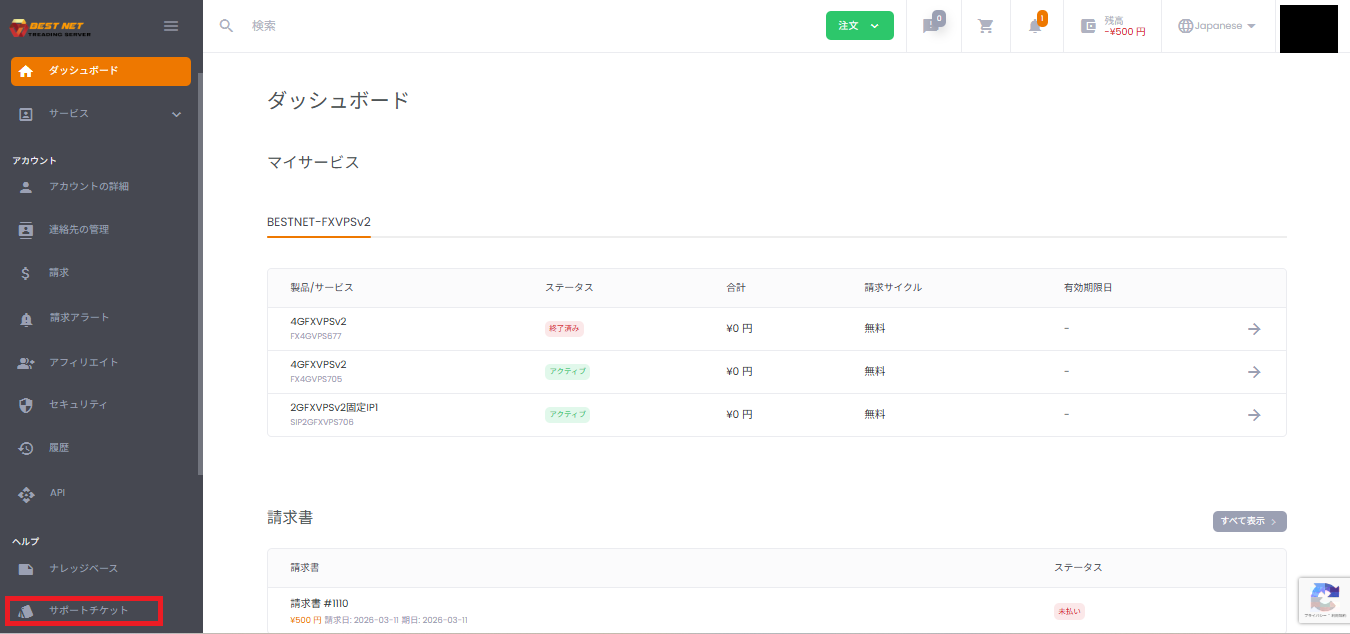
1. Open “Support Ticket” from the left menu #
- Log in to the client portal.
- Click “Support Ticket” in the left menu (Help section).
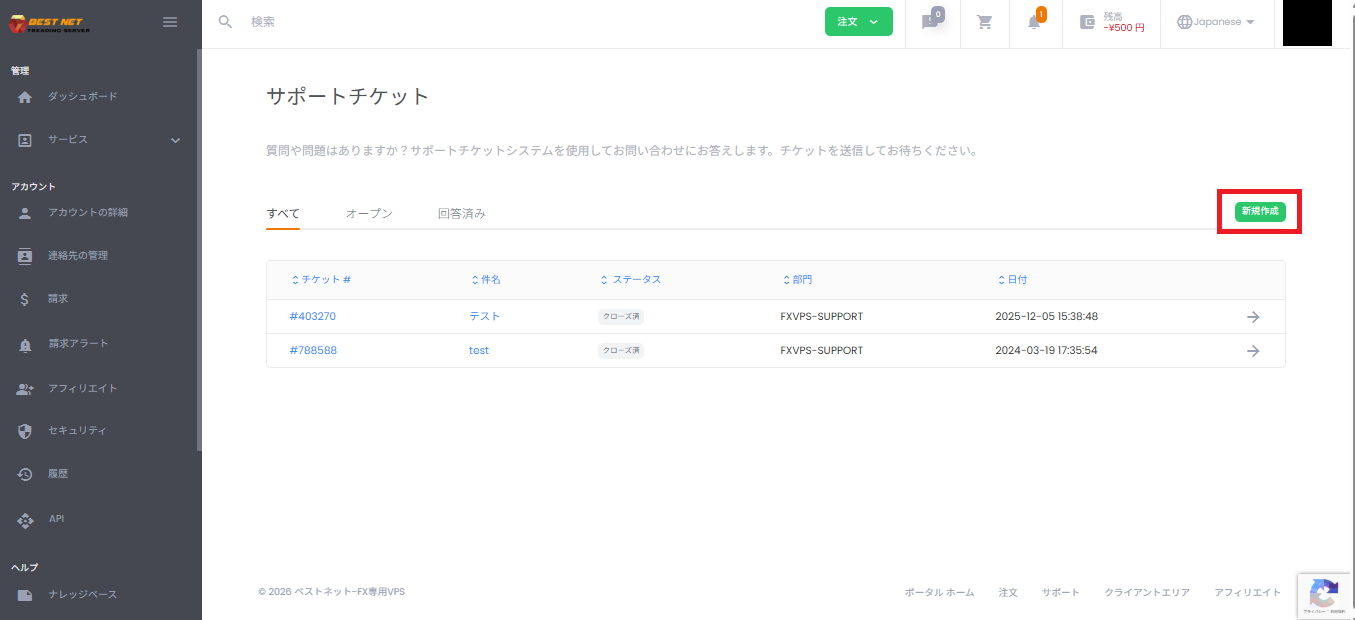
2. Click “Create New” #
- Click “Create New” on the right side of the Support Ticket list screen.
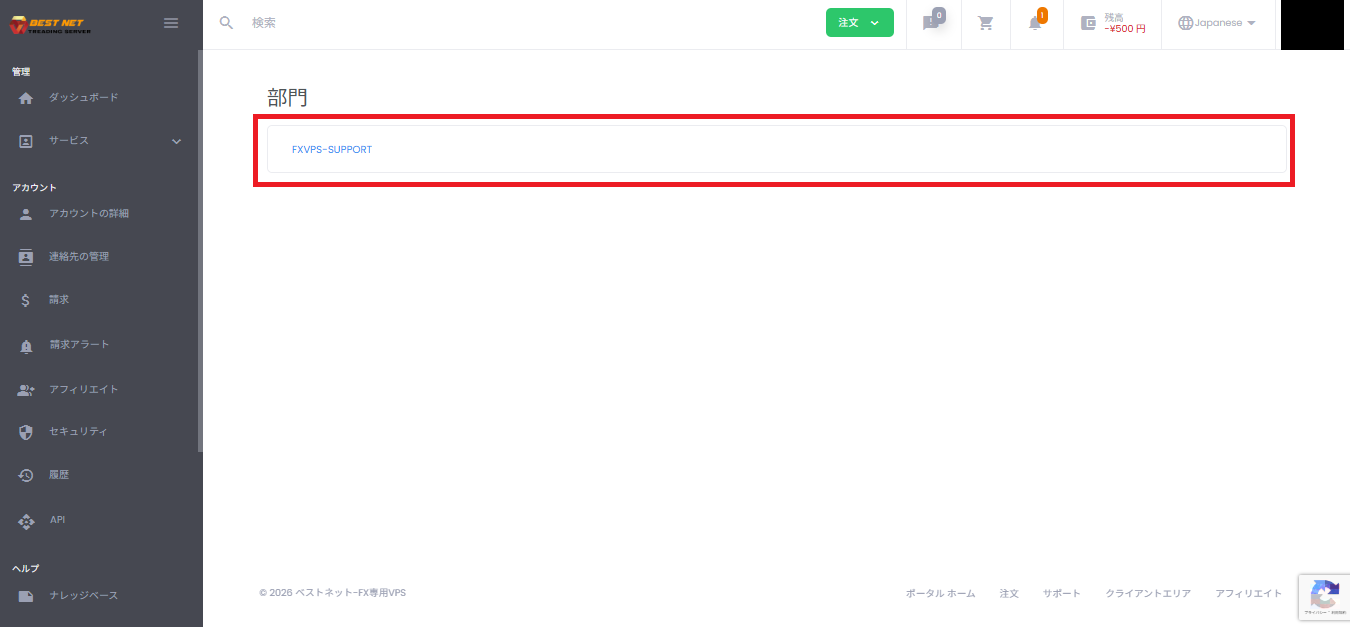
3. Select the “Department” for your inquiry #
- Click the department from the displayed “Department” list that matches your inquiry content.
Example: VPS-related inquiry → FXVPS-SUPPORT
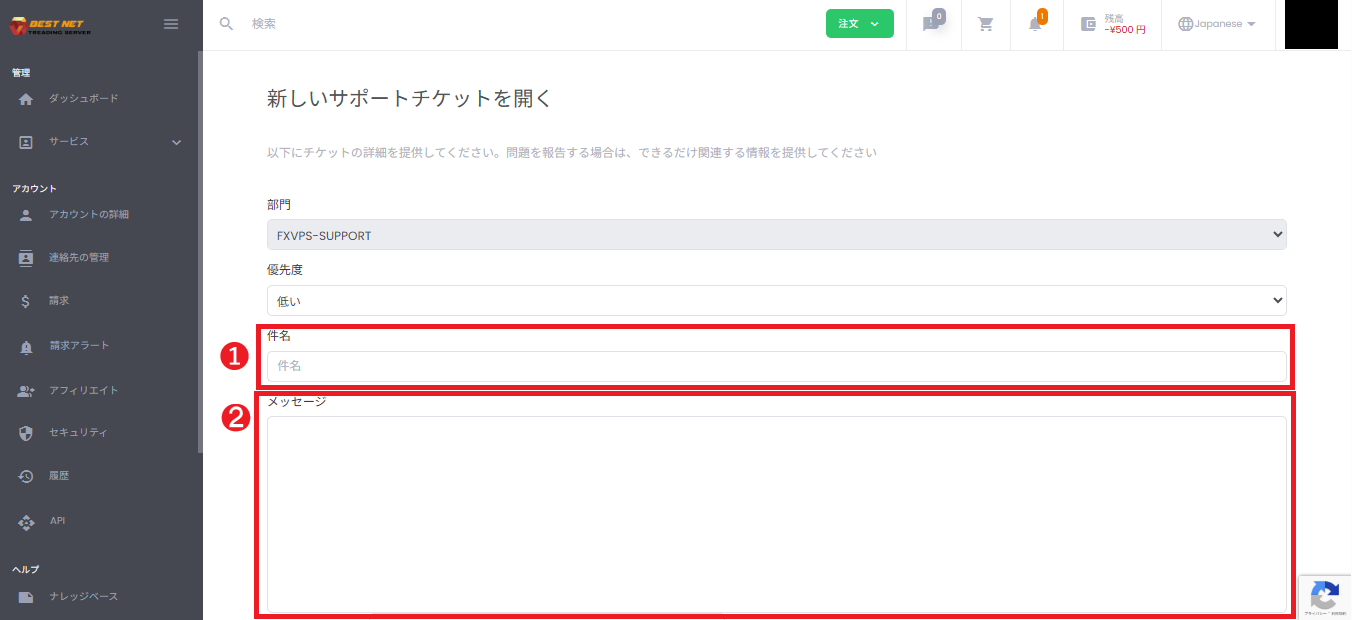
4. Enter the subject and message #
- Enter the main point of your inquiry in the Subject field.
- Enter details (date/time of occurrence, situation, reproduction steps, error messages, scope of impact, etc.) in the Message field.
5. Configure related service, CC, and attachments as needed #
- Related Service: Select the applicable service (e.g., VPS) (optional).
- Additional Email Recipients (CC): If you want to notify other parties, enter email addresses separated by commas (optional).
- Attachment: Add screenshots or logs (optional).
Allowed file extensions (example from screen): .jpg / .gif / .zip / .png / .pdf
Note: In some cases, you can paste screenshots directly into the message field using copy and paste (behavior may vary depending on your environment).

6. Create the ticket by clicking “Submit” #
- Verify your input and click “Submit”.
- When you see “Ticket has been created!”, the creation is complete.
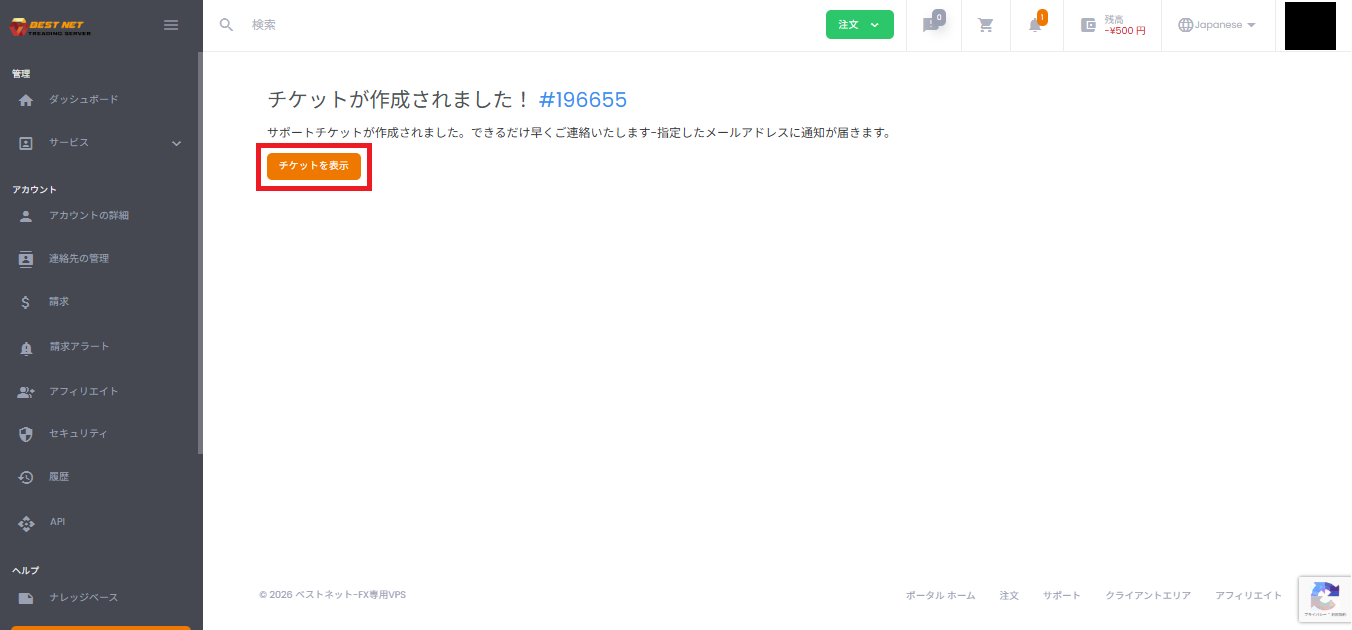
7. Verify the created ticket #
- Click “View Ticket” on the confirmation screen to display the ticket details.
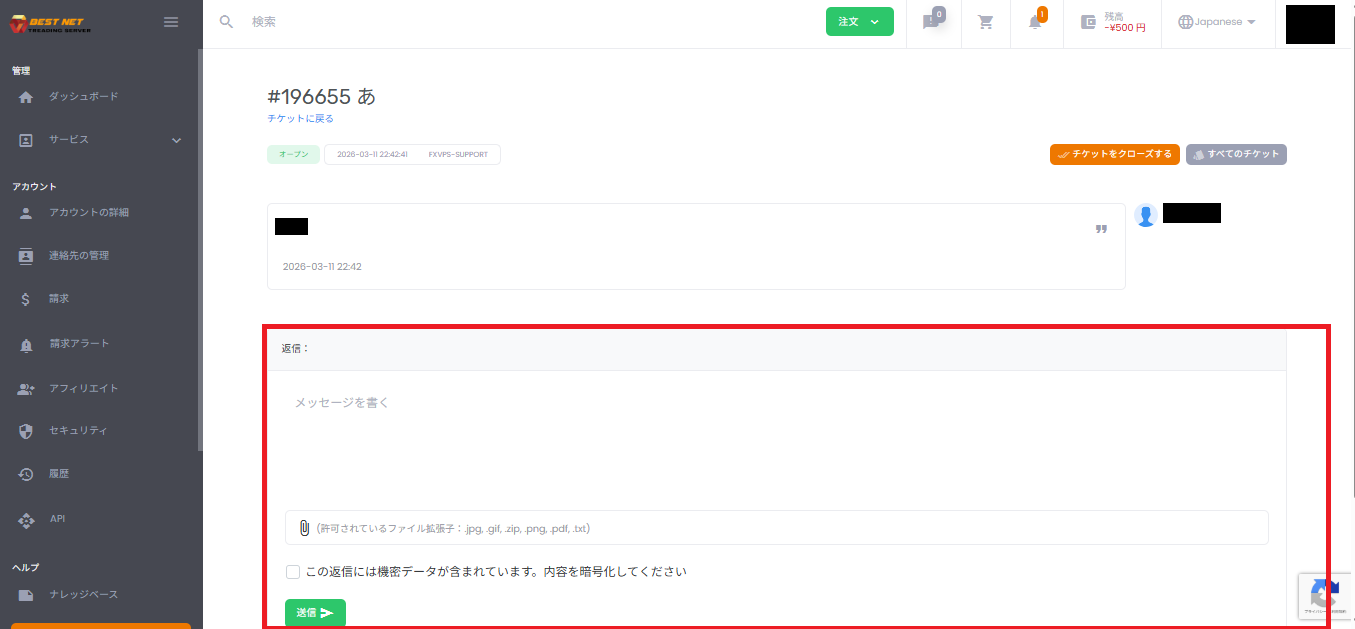
- Any subsequent follow-up communication can be sent from the reply field on the ticket details screen.
Additional Information #
- If your inquiry contains confidential information, use encryption (checkbox) following the instructions on the screen.
- If the matter is urgent, add a prefix like 【Urgent】 at the beginning of the subject and clearly state the “impact (e.g., service outage)” and “preferred contact method” in the message for faster response.
Frequently Asked Questions #
Cannot attach / getting an error #
- Verify that the file extension is permitted (e.g., .jpg / .png / .pdf, etc.).
- If the file size is large, try compressing it (.zip) or reducing its size.
I’m not sure which department to select #
- Select the closest department first and submit. Our support team will route it to the appropriate department.


