This guide explains how to add, configure permissions, edit, and delete “sub-users (contacts)” in the client portal.
This guide has been created using generative AI and other tools, so annotations (arrows, frames, numbers, etc.) in screenshots may appear slightly misaligned with the actual screen display.
This is intended for understanding the procedure intent; during operation, please refer to the screen display and text content as the primary source.
What is a Sub-user (Contact)? #
A sub-user is a user created as a “Contact” linked to the main account, to whom only the necessary operation permissions are granted to allow portal access.
Prerequisites #
- You must be logged in to the client portal with the main account
- You must have the email address to be registered as a sub-user ready in advance
Adding a Sub-user #
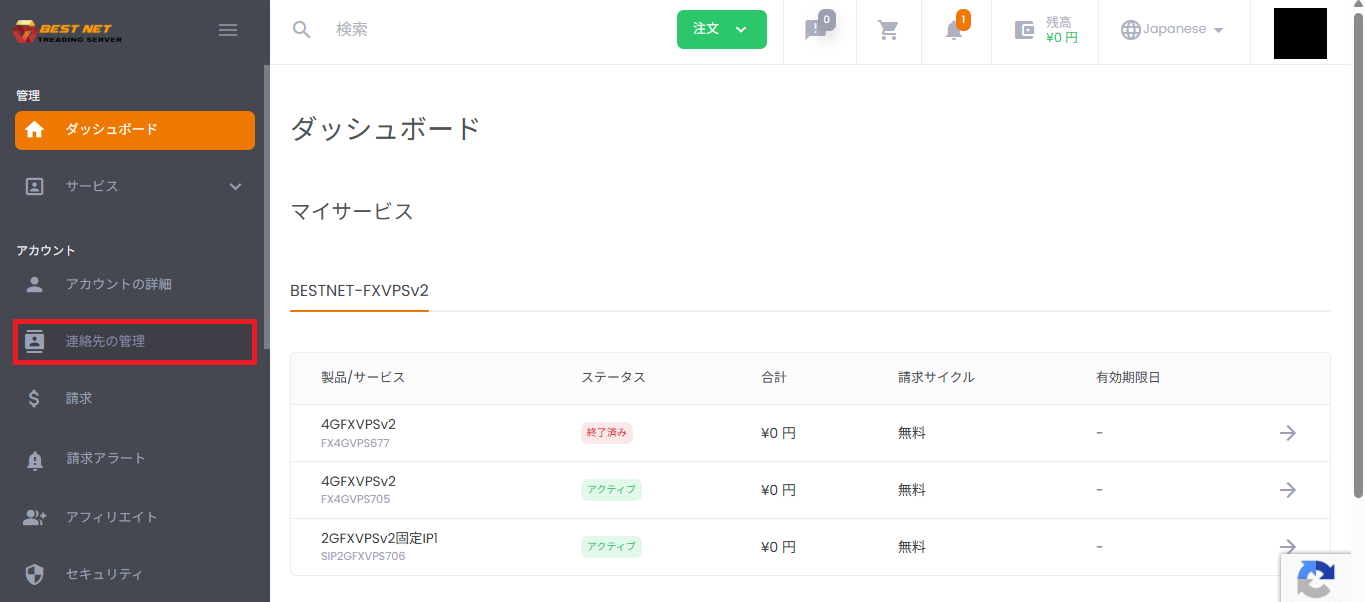
1. Open the Contact (Sub-user) Management Screen #
- Click [Account] → [Manage Contacts] in the left menu.
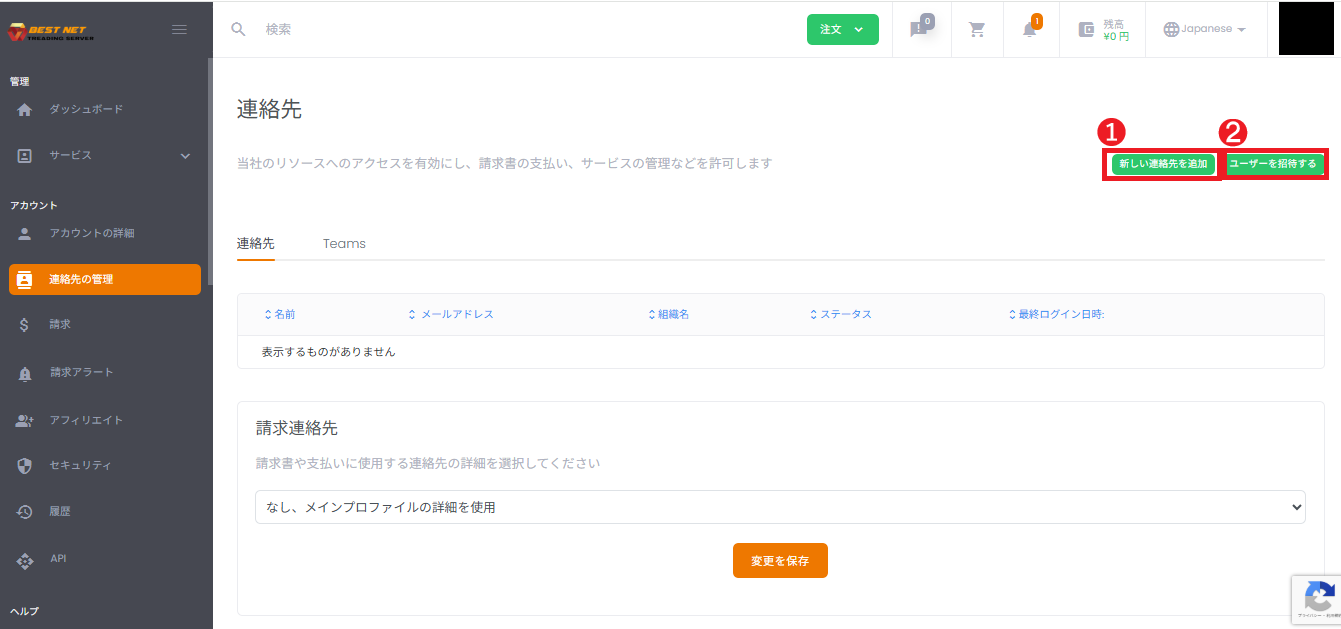
2. Choose an Addition Method (New Addition / Invitation) #
From the upper right of the contact screen, select an addition method according to your use case.
- [Add New Contact]: The administrator creates the user immediately by setting user information, password, and permissions on the spot.
- [Invite User]: Suitable for operations where you send an invitation email and have the user complete registration on their end (displayed content may vary depending on environment settings).
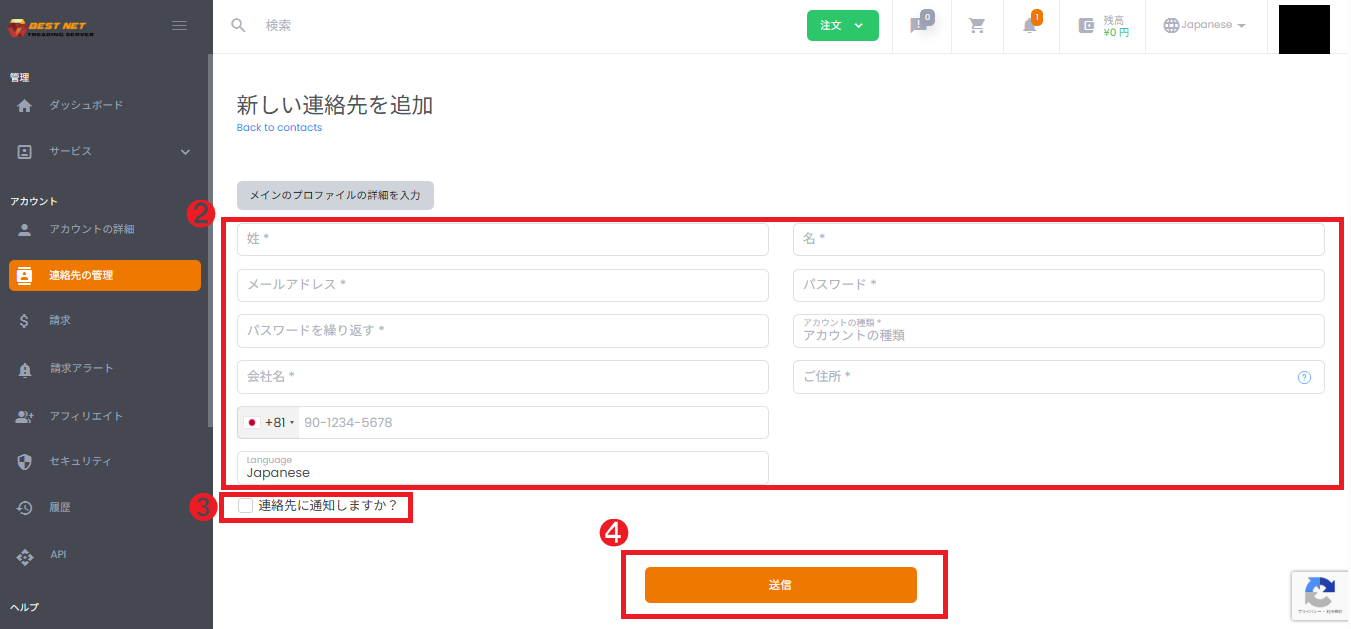
3. Enter Sub-user Basic Information #
- Click [Add New Contact].
- Enter required fields (last name, first name, email address, password, etc.).
- As needed, enable [Notify the contact?] (notification content may vary depending on environment settings).
Configuring Permissions (Privileges) #
1. Select a Permission Template #
In the “Privileges” section, you can select a template (for example: None / Accounting / Full Access / Technical Staff) to grant a commonly used set of permissions all at once.
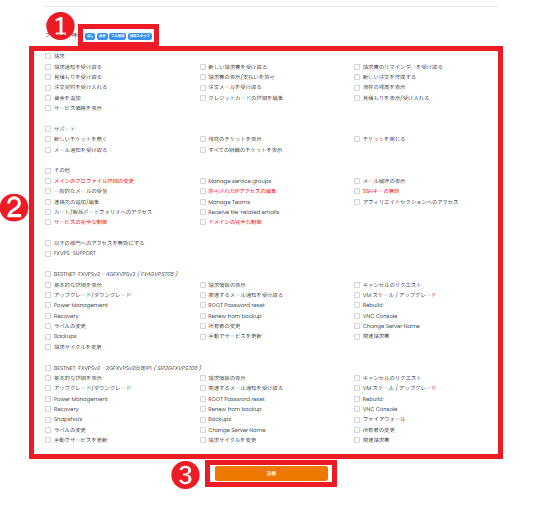
2. Adjust Individual Permissions #
- We recommend using minimum permissions as the baseline and granting only necessary operations.
- Be careful when granting permissions that affect the entire account, such as “Modify Main Profile Details.”
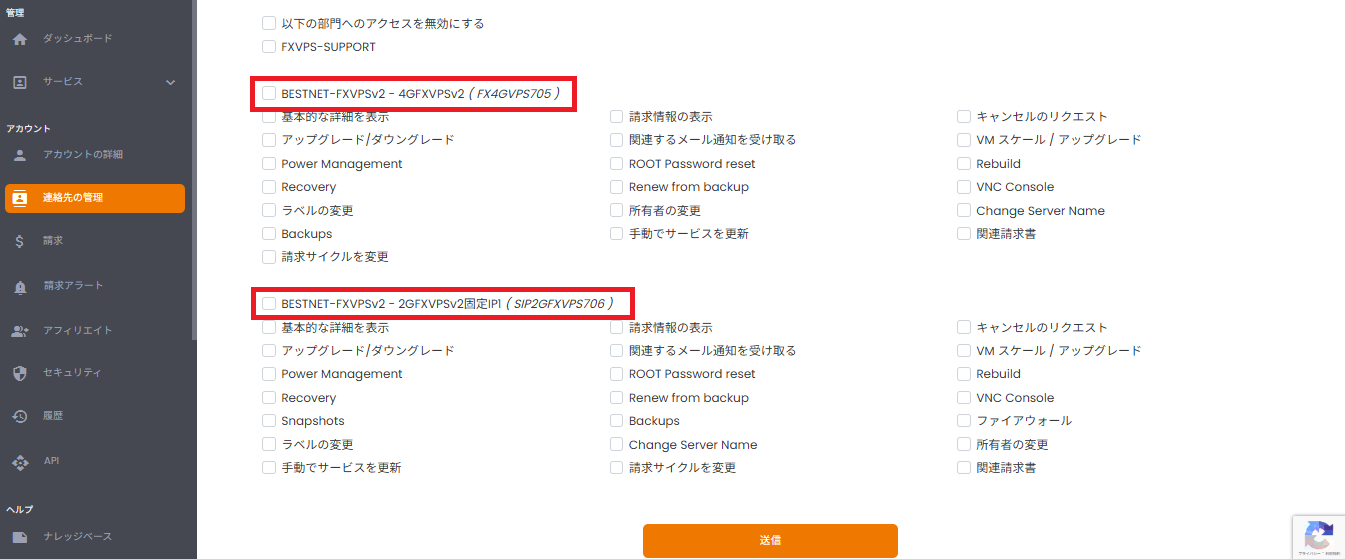
3. Configure Permissions by Service (Contract) Unit #
For each service under contract, you can control the operations permitted (for example: Power Management, Rebuild, VNC Console, etc.).
By granting operations per service unit, you can further narrow down unnecessary permissions.
4. Save Settings #
After completing input and permission configuration, click [Submit] on the screen to save.
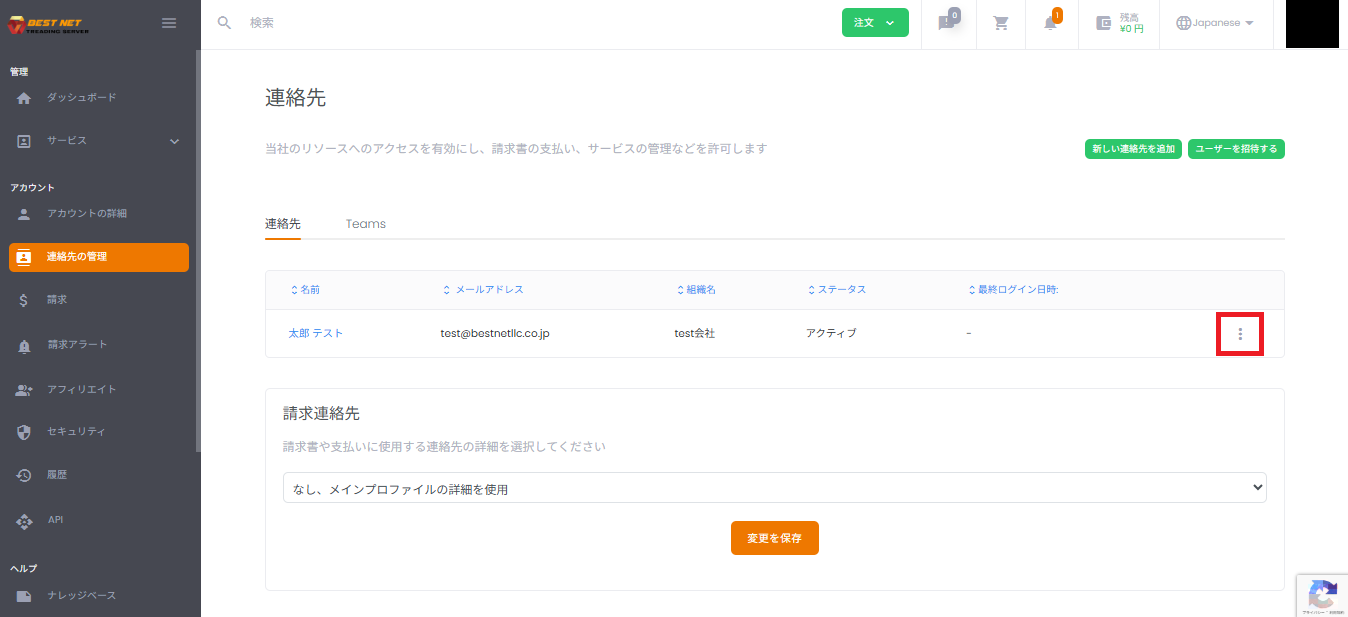
Verification After Creation #
- Confirm that the added sub-user appears in the contact list.
- Verify that the status (for example: Active) and email address are correct.
Once it appears in the list, sub-user creation is complete.
Editing and Deleting Sub-users #
1. Open the Operations Menu #
Click the ︙ (three-dot menu) at the right end of the target user row in the contact list.
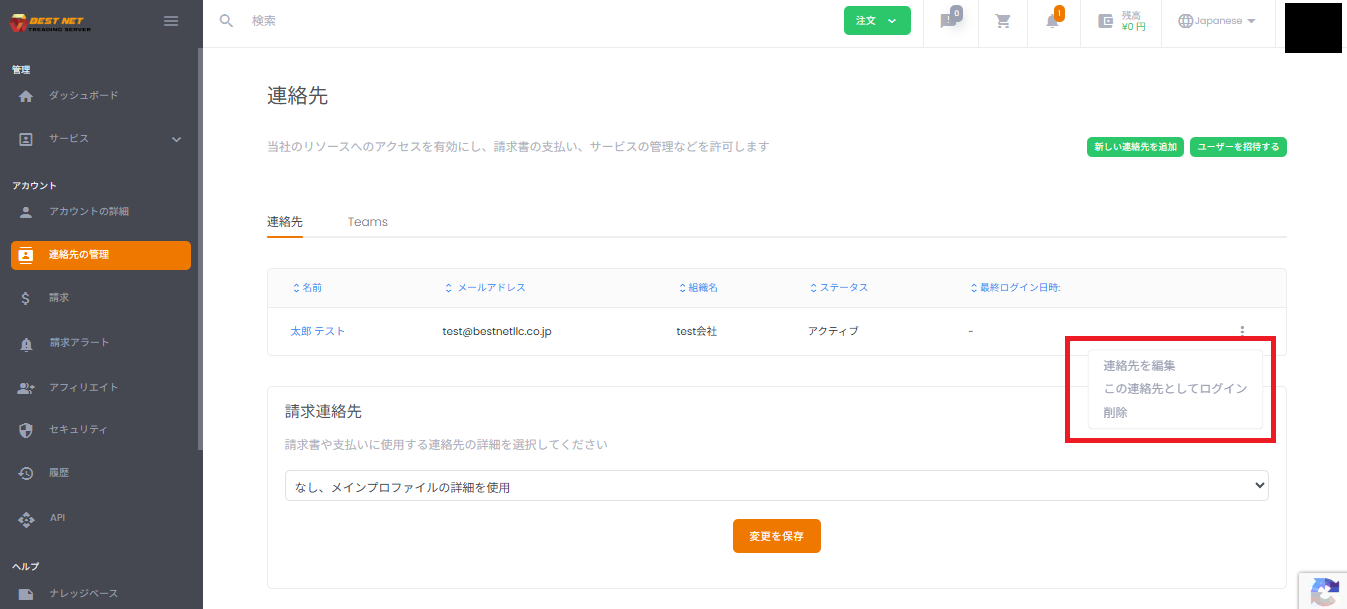
2. Execute Edit / Proxy Login / Delete #
- Edit Contact: Change email address, password, permissions, etc.
- Login as This Contact: Use this when you want to view and confirm permissions from the sub-user’s perspective.
- Delete: Delete the sub-user (note that recovery availability after deletion varies by environment).
Operational Notes #
- Keep permissions to the “minimum necessary” level. Particular care is required when granting billing, payment, or account settings modification permissions.
- If a sub-user cannot log in, the most common causes are email address errors, password settings, or insufficient permissions.
- Screen display and text may vary slightly depending on portal customization or language settings.


